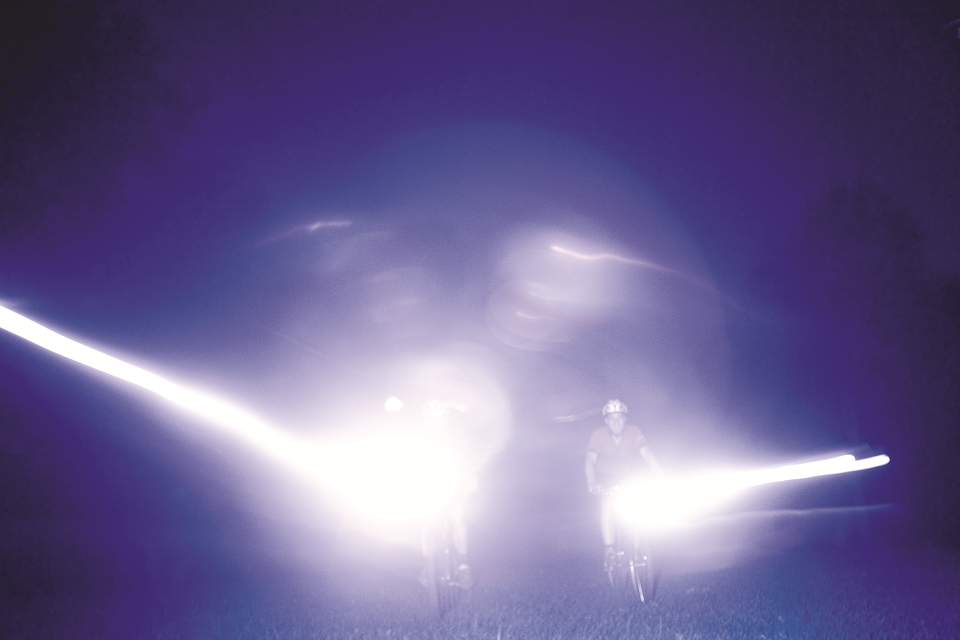
These days all the conversation about lights is LUMENS, LUMENS, LUMENS! MORE, MORE, MORE! And while brighter is sometimes better, often it is how you choose to mount your lights that makes the bigger difference for your night-vision.
We offer three different options for mounting your bike’s headlights. No one here is saying you have to use them all at once, but we’re not going to stop you either if that’s how you party. No, we really provide so many options because—depending on your bike and/or riding situation—you might want your headlight mounted a little differently.
One thing all our mounts have in common is their help in reducing handlebar clutter. With items like computers, GPS, bells, or aero bars, the fight for space is real. Other influencing factors might be if you ride with front panniers, or just where you prefer your light source pointed. If you’ve never really given any thought to bucking convention with
where you mount your front light—here are a few things to consider.
Up High? Or Down Low?
First, a point of distinction. Here we’re speaking specifically to headlights used to see in the dark, as opposed to blinking safety lights meant to make you visible to
motorists. Safety lights simply need to be visible & unblocked to be effective; put them wherever works.
When it comes to headlights used to illuminate your path, the mounting position and angle can change a lot about what you can see from the pilot seat. Most folks end up
putting headlights on handlebars. This provides you with two visibility options. If you point the light forward, you’ll be able to see objects much further ahead on the road, and you’ll also be seen by oncoming traffic sooner. But this comes at the expense of seeing [potentially hazardous] objects that are right in front of you (see photo below).

The alternative is to point the light toward the ground, illuminating objects of more immediate concern on your path. This is great when riding singletrack or slow-cruising a bike path, but in high-speed situations you run the risk of out-running your headlights.

A good time for a handlebar mounted light to be pointing downward.

The lower your light, the closer and brighter the light pattern will start from the bike. You’ll have greater visibility to potholes, rocks, or glass AND you’ll be able to see further down the road as well. One drawback: you’ll also experience longer shadows cast off objects in front of you, as well as your front wheel, which some riders find distracting. These lower mounting options are what we can help with (read on).

Down Low – Mid-Blade or Fork Dropout
Our Braze-On Light Mount can attach at the mid-blade or dropout eyelet, assuming you don’t have panniers, racks, or fender stays occupying those spaces already. Now, you’re starting to forsake some of the safety in traffic that comes from a high-mount light, but you’ll start to get a better view of what lies directly ahead of you on the road or trail surface.
Our unique design offers two mounting options that place the light either closer to the fork, (7mm offset for the mid-blade eyelet) or further off to clear your bike’s quick-release skewer nut (23mm).
Attached to the fork dropout mounts, near the quick-release nut

Braze-on light mount attached to the mid-blade mount of a fork.

Down Lower – Quick Release Nut Light Mount
This mount replaces the nut on your quick release skewer. In this position, you’ll get the broadest beam of light and the best view of your path ahead. You’ll also see more shadows off debris and your wheel. If the surface of your route is your greatest concern, this light mount is the way to go.

Happy Medium – Front Rack
For folks with a front rack, our little L-bracket mounted light perch is an inexpensive no-brainer. Think racks like the Surly 8-Pack or 24-Pack rack (photo below), or porteur style racks from Velo Orange, etc. You’ll still likely benefit from visibility to motorists with this one, and have more of that extended view similar to the handlebar perch.

With any of our off the handlebar mounting options, you could always mount a blinky light to your helmet for an extra measure of visibility and safety around cars or other traffic. Where there’s a will, there’s a way. And we know you got that will.

